Setting up an APC UPS, Synology and NUT

I figured I’d document setting up an uninterruptible power supply (UPS) with a Synology NAS that can also shutdown a Mac and two Raspberry Pis that drive certain aspects of my home network.

I am using NUT as clients on the Raspberry Pi and macOS computers that connects to my Synology NAS with an APC UPS connected.

Synology NAS Setup

For the Synology, follow Synology’s instructions to enable UPS support in DSM with the following exceptions:

  • Enable the Network UPS server
  • Put in the IP addresses of the computers you want to send shutdown messages to. While it says, “Permitted Synology NAS Devices”, you can use Network UPS Tools (NUT) clients in both macOS and Raspberry Pi OS to monitor
  • You do need to give those clientsand your NAS static IP addresses, which they have on my network

Raspberry Pi Setup

Setting up the client on Raspberry Pi is pretty straight forward. The link provided covers setting up as both server and client if you ever wanted to use a Raspberry Pi as a server.

For the purposes of my setup, I’m going to recommend letting the NAS be the server in this case.

Make sure you pay attention to upssched-cmd

macOS Setup

macOS is a bit trickier.

  • If you don’t have Mac Ports installed, install it
  • I followed these instructions to install NUT with the exception of
  • Making sure I used the MONITOR, NOTIFYMSG, NOTIFYFLAG details from the Raspberry Pi Setup
    • I used nano instead of emacs
  • I then follow the configuration files as described in the Raspberry Pi setup with the changes in the Mac instructions in this section

Steamdeck

For the past year I’ve been playing with a Steamdeck.

I adored the Sony Playstation Vita, and when I saw the Steamdeck, I saw it as a worthy successor and I think I’m right.

The Steamdeck is fantastic! Now, there are definitely more powerful handhelds out there such as the Asus ROG Ally, but the Steamdeck was really the game changer handheld gamers were looking for.

What do I like about it?

  • It runs Linux – Nothing like seeing the power of Linux shine at a gaming level. Steam did a great job of creating SteamOS off Arch Linux
  • I can use it both as a gaming machine and as a Linux desktop, especially when in a dock hooked up to a keyboard, monitor and mouse
  • It runs Windows – Not that I run Windows often on the Steamdeck, but it’s definitely an option and I’m running it off an SD card
  • It runs Emulation Station – This was a huge factor in me buying the Steamdeck, I wanted to be able to carry a subset of my retro gaming archive on the Steamdeck.
  • How it feels in my hands and how visible the screen is
  • The controls are good
  • For how powerful the machine is, the battery life is not bad

What do I dislike about it?

  • The size of the Steamdeck is big and the case just adds more to it. That said, it’s kind of to be expected, people need a good size screen, good controls and a comfortable unit, so there are definitely tradeoffs.
  • It can run warm – Although I throttle using some plugins which saves battery life
  • The virtual keyboard takes up too much of the screen, and sometimes blocks fields you’re entering, say, a username or password in

There’s not much I don’t like, honestly and I can very much live with the things I dislike.

I’ve played some AAA titles such as Stray, and I didn’t see much lag, and the Steamdeck kept up with the game.

I do tend to play more modern retro-like games and games that don’t tax the system, however I would like to play more immersive modern games on it.

Now, how do I balance Steam versus my game consoles? Well, there are certain games that I’m going to want to play on multiple platforms – Tetris is one game that I want with me. I think this is also why I play more retro-like and independent games on the Steamdeck, because they don’t necessarily exist on the consoles, or if they do, I’m more likely to play games while travelling, or casually outside versus inside.

Some games are mean to be played on a big TV, some, I’d say handheld, and others work for both.

Steamdeck, Asus ROG Ally or other? Hmmm – The Steamdeck, when I ordered it, was definitely one of a kind and it definitely spurred a whole new industry.

I admit, I love the look of the Asus ROG Ally, but I’m a bit meh on it running Windows out of the box. I know there are sites that document how to setup Linux and get close to a Steamdeck experience on the Ally and that will improve over time. The Ally is definitely more powerful than the Steamdeck.

I think, ultimately, weigh the pros and cons of Windows versus Linux. SteamOS is pretty fantastic and I’ve not had any issues with it.

Arduino Projects

I really like the Arduino and Raspberry Pi Pico platforms. I’ve learned a fair bit about electronics, microprocessors and even AI.

Embedded systems are, in deed, quite different from writing software for a traditional computer.

Despite the number of boards I have, and my familiarity with writing code for Arduino and MicroPython, I have only a handful of projects that I’ve put together.

Pong – Built off a Pico and a Pimoroni Unicorn Pack, I created a simple two person Pong game. Total retro fun, in colour, too!

Christmas Ornaments

  • Arduino Version – I don’t recall which LED panel I used, but I think it was this NeoPixel Shield from AdaFruit, and an Arduino Uno. Using C++ and the AdaFruit NeoPixel Library I wrote a number of animations and messages that would be displayed. A bit bulky to hang on a tree, it’s still a lovely addition as a techy ornament
  • Raspberry Pi Pico – Using a Pimoroni Pico Display Pack, I created an ornament that cycled through 10 images with snow ‘falling” on the pictures. Users could also stop the animation and go through the pictures individually with the buttons.

You can find the code in my personal Git repository for Picopong and the Christmas ornaments.

I have one other project to complete – the Tapduino as a replacement tape drive for a Commodore 64 or Vic 20. Bring on those T64 files!

I may also look into creating a tool to display details about soil in the garden.

Raspberry Pi Projects

I adore the Raspberry Pi platform. A small, credit card-sized computer, that’s cheap, relatively powerful and extremely versatile. If you’re looking for one, have a look at rpilocator.com which provides inventory detail around the world for Raspberry Pis.

While they primarily run Linux, there are a number of operating systems available including a bunch of Linux distributions including sub variants like Android and ChromiumOS, FreeBSD, RISC OS, and Plan 9.

I pretty much run Raspberry Pi OS, formerly Raspbian, on all my Pis. Here are a few projects I’ve created over the years

OctoPrint – I run OctoPrint on my 3D printer as a print spooler so I can keep my other computers going on other projects, especially for long print jobs.

Pi-Hole – I run an ad blocker on my home network so it a) reduces the amount of traffic on my home network, b) reduces how often we get profiled by ads, c) reduces annoying web pages as much as possible.

RetroPie – I run RetroPie on my home arcade consoles with my curated image of games from the 70s to early 2000s.

Recalbox – I have a few handheld Raspberry Pi Zero -based gaming machines such as the Retroflag GPi Case that run Recalbox. Well worth looking into as an alternative to RetroPie.

Pi1541 – When backing up old Commodore 64 disks and adding to my curated game images, I sought out Pi1541 to save backups of my disks. It works very well as a 1541 drive emulator.

Pimiga – Anyone who knows me knows how much I love Commodore Amiga computers, and I have quite a collection at home. When I heard about Pimiga, I had to try it out. It’s pretty amazing.

PiStorm – While i’ve not actually finished setting this up, I have a PiStorm to breathe new life into my Amiga 500 and 1000 in my collection. In short, it replaces the Motorola 68000 with software emulation running on the Raspberry Pi, accelerating the Amiga, and also supports RTG so you can run your Amiga off an HDMI screen rather than having to find a 15khz monitor. it also allows you to run any Kickstart – available with Coloanto Amiga Forever.

Home Assistant – I attempted to setup a Home Assistant at home, however I think I unfortunately killed the SSD – I’m in the process of reviving it – despite having a fan in the case. I went with Home Assistant as I’ve been concerned – what happens to our web-connected smart devices when manufacturers fold or cease to support a device? I’m using an Argon One M.2 case for this project.

Home brew projects

On Air Indicator – Based on a Raspberry Pi Zero W, I created an internal website that indicates if a room is in use, okay to enter, etc. Useful for Scott’s office when he’s teaching. I used a Pimoroni Blanket! LED, Apache, PHP and Python to

Game Console – An extension of RetroPie, here is a link to my page for how I put together my custom arcade game console.

What models am I using?

Primary Pi 4s and 400s with 4Gb of memory. I use a Pi 400 as my “primary” Linux machine in my office for general tinkering, testing and other geekery at home.

My OctoPi runs off a Pi 3B, and it’s more than enough power for that setup.

My handheld and On Air Indicator project run of Pi Zero Ws, and I have a Pi Zero 2W I also use with the GPI case – the 2W is close in power to a 3 which is huge.

For PiStorm, I’m using a Pi 3A which has a much thinner form factor.

And there you go!

Tips and tricks for the road warrior

This week I was asked by a co-worker, whom I am mentoring, “What are your tips and tricks for travel?”  She was writing a speech for her Toastmasters meeting and given I am a bit of a road warrior, who better to ask?

Here are my tips and tricks for the newly initiated to business travel.  This also applies to anyone who is starting their own personal adventure travels as well.

1. Align yourself with an airline program, hotel program and even a car rental program

That is in order of importance too.  Consider where you are flying, the airlines available in your area, and what your goals are for those miles.  Here in Canada we’re heavily skewed towards Star Alliance with Air Canada being the dominant carrier.  I could fly American Airlines to the US to build up my One World status, but I am more likely to use Air Canada to go somewhere.

2. Get yourself Global Entry/NEXUS/Clear

Want to get through airport security quickly?  Get yourself a Global Entry, NEXUS card, or Clear.  NEXUS is really useful for those who cross the Canada/US border or travel internationally to/from Canada.  Global Entry is great if you travel internationally to/from the US.

You get dedicated lines, in the US you don’t have to pull your laptop out of your bags, and you don’t have to take off your shoes, depending on the security checkpoint you’re at.

In Canada you get a dedicated line at most airports, but have to pull your laptop out of your bag.  I have found inconsistent service.

Clear is only offered at 11 airports in the US, and honestly, I don’t see much value in the program.

The only caveat is that I am finding a lot of people are now getting NEXUS cards and slowing the process down, however airports like Toronto Pearson are opening up additional security lanes.

3. Get a points credit card

If you can, get yourself a points credit card so that you’re earning points on any purchases you make.  Make sure this aligns with the airline or hotel program you are aligning yourself with.

Personally, I aligned my airline miles with my credit cards.  While as of January first, I have only earned around 11,000 status miles, I have earned 30,644 miles total with my credit cards.

Also you get great sign up bonuses which add up quickly too.

Some cards also let you get through security quickly too, so if you don’t have status with an airline or a NEXUS/Global Entry card, you do have an opportunity to get expedited service through some airports.

4. Research your destination in advance

Look at what is happening at your destination in advance to see what is going on.  Check the news, weather, look for events.

5. Stay at the same hotel

If you’re like me, consistency is a good thing.  I’ve been staying at the same three hotels in Portland OR and Vancouver WA for the past 4 years.  I know what to expect, I know the comfort of the beds, and I’m getting the hotel points and status.  You also get to know the  staff members, and they recognize you, which sometimes helps with extra perks or if you need that extra level of care and service.

6. Consider a connection

Most of us who travel prefer to have direct flights to destinations.  It’s a pain to be delayed, to not get to your destination or back home on time, etc.  But sometimes connections can be advantageous, especially if you’re about to hit a status milestone.

Last year I flew Toronto to Dallas via Houston because that was the only flight available.  You earn just over 1,000 miles on Aeroplan/Air Canada Altitude with this direct flight.  If you fly via Houston, you get just over 1,500 miles. This year with the changes to Aeroplan, you would probably only get over 1,250 miles.  That’s a bit of a nice bonus.

Also, some airline programs consider flight segments towards earning status.  i.e. 35,000 status miles or 35 segments.  If you have 1 connection point in your travel, that equates to 2 segments. If you’re 1 segment short of status, why not connect?

7. Pick your favourite airports

Know which are your favourite airports for connections, and which airports are horrible.

For example, I don’t like ORD or PHL because it they are either very busy, or there are long walks between connecting gates.

I refuse to fly through LAX for connections because of the walk between terminals and terminal transit is horrible.  As well, Customs Border Patrol staff are rude.

I love SFO and DFW.

So there you go – What other tricks and tips do you have?
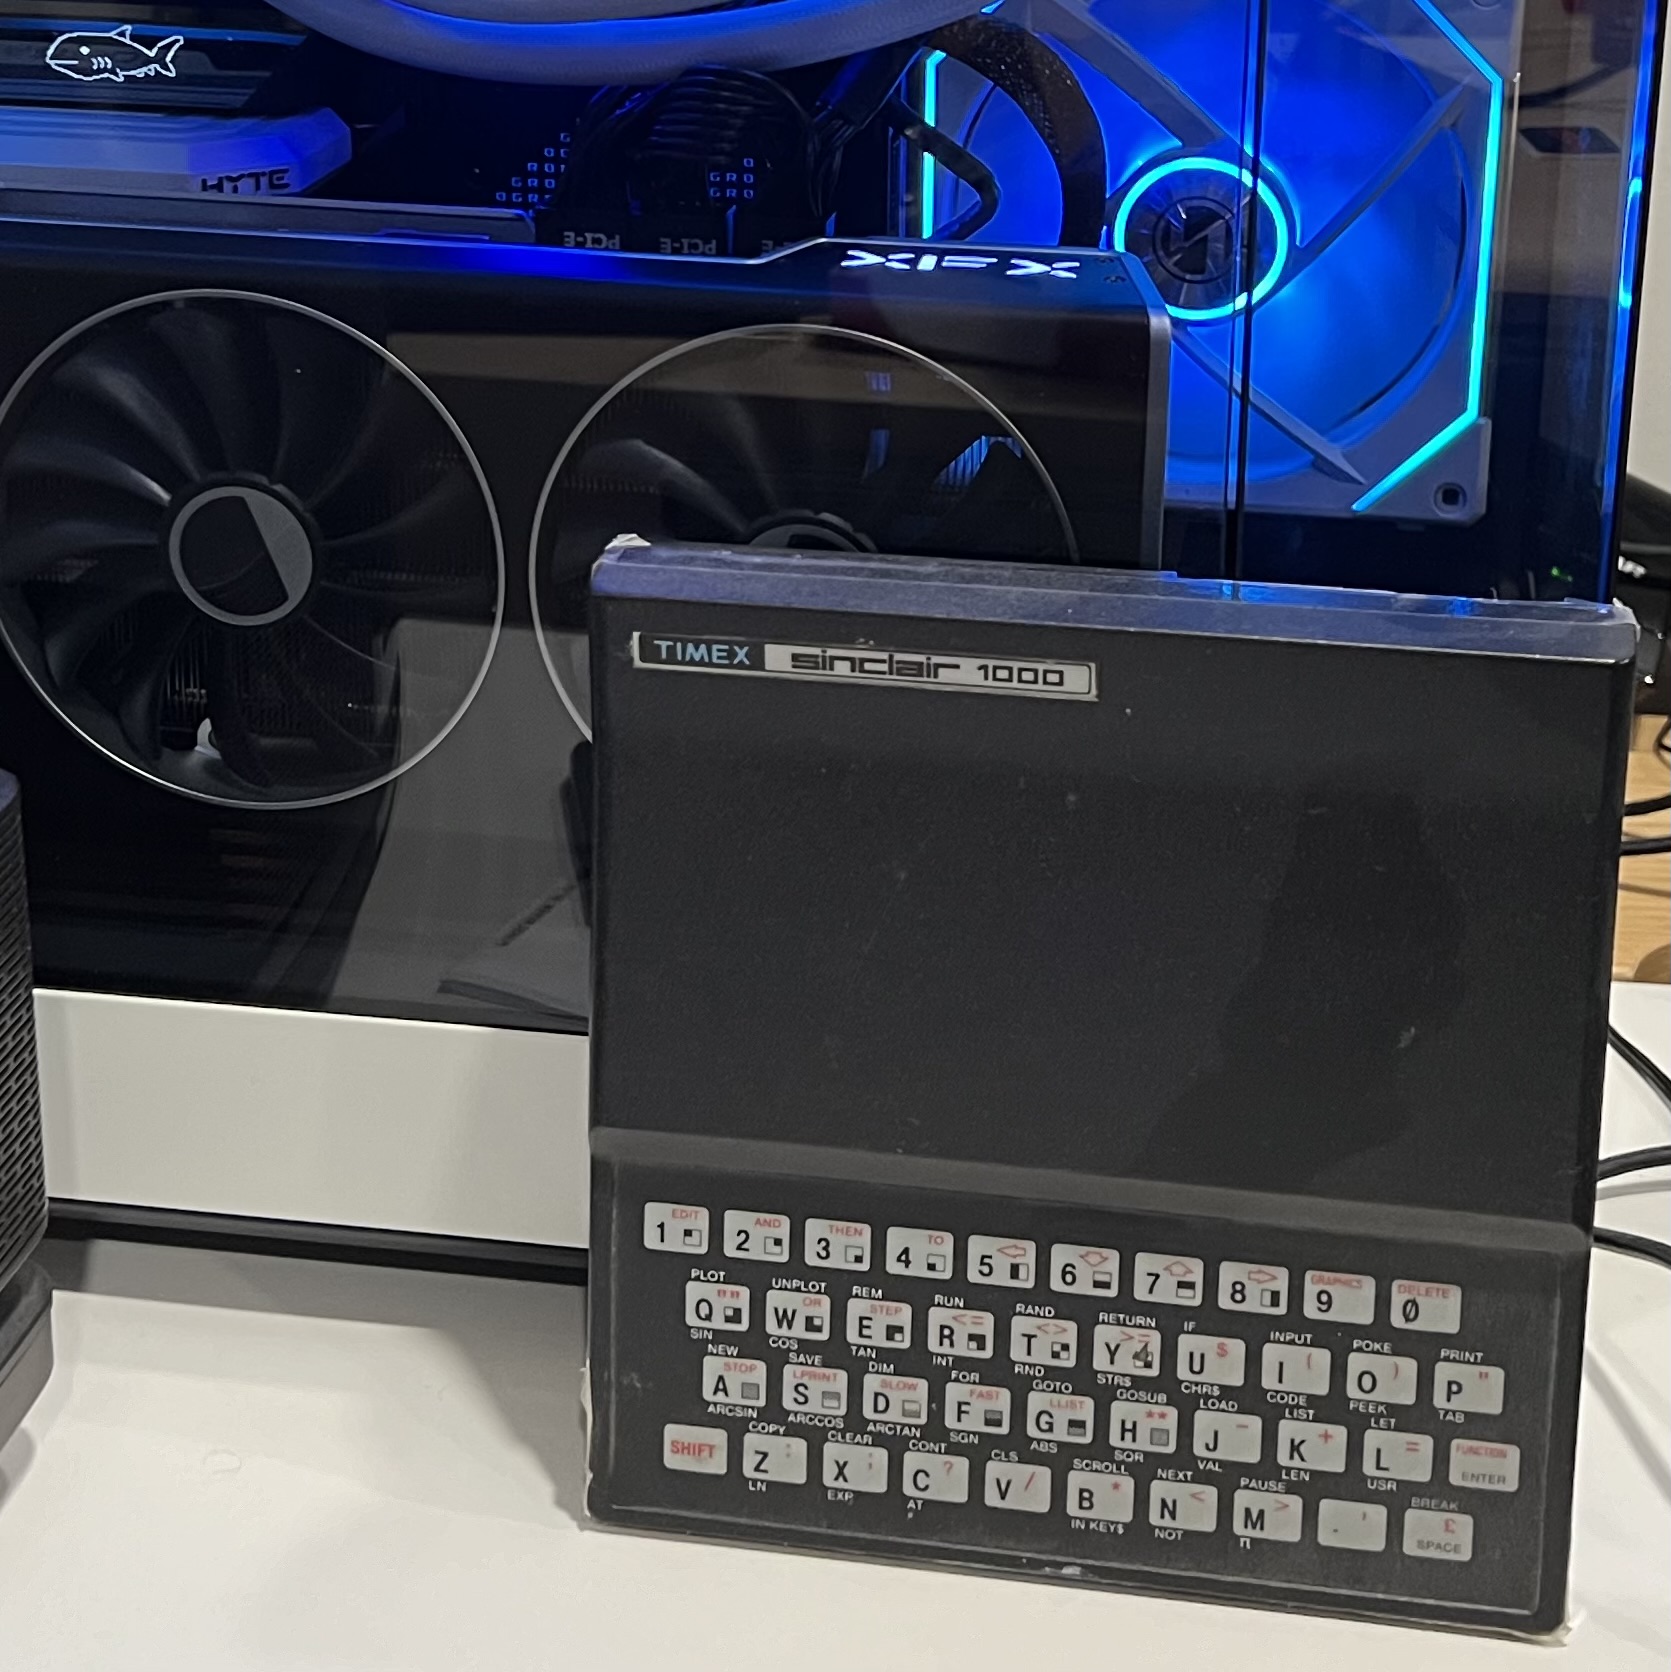
RetroPie, Ultimarc I-Pac Ultimate I/O Game Console, RGB Commander and xboxdrv

About two years ago, I was inspired by my partner Sté to put together my own arcade game console with buttons, two joysticks, blinky LEDS and make it Raspberry Pi and RetroPie-based.

It was a great project to start during the COVID-19 Pandemic, but I ran into an issue when one of the vendors sent me the wrong cables. I finally got around to sorting this out and got the controller up and running.

I’m putting this together so that anyone who wants to do something similar with RetoPie can do so. There were some hoops I had to jump through to get this working, mainly around drivers that were no longer available, but re-found courtesy of the Internet Archives.

Here is where I picked up the parts:

  • Game Room Solutions – Who designed the console box and artwork
  • Ultimarc – I went with the Classic RGB Illuminated buttons and went with the I-Pac Ultimate I/O which acts as a keyboard, Xbox 360 Controller, or dInput. I also wanted illuminated joysticks.
  • Raspberry Pi 4 – The guts of the system – 4gb spec.
  • Crucial X8 4Tb SSD – I wanted something fast, relatively low power, and efficient for space. I also have curated a significantly large image of games from the 70s to early 2000s. Previously I was using a WD 4Tb My Passport which does the trick and thankfully I was able to copy the image to the SDD.
  • Atolla USB Hub – While it seems I can power the SDD from the Raspberry Pi directly, I wanted to make sure I had a powered USB hub to help with power.
  • Various cables
    1. USB A-USB C cable for power to the Raspberry Pi from the USB hub
    2. Power cable for the Ultimate I/O board to power LEDs
    3. Micro USB-USB A for the Ultimate I/O board for cotrol
    4. Micro HDMI to HDMI and with a female to female converter to hook up to my TV

A lesson learned

I originally bought a set of buttons and a controller from Amazon or Aliexpress, and while it sort of worked, I ran into an issue with keyboard emulation. From what I recall, I couldn’t use two of these controllers at the same time for the two different sides, or something else. It’s been a while. I know I also had some issues with powering the LEDs on those buttons.

I was also frustrated because the buttons were really brittle so taking off the switches broke the harness that the switch sits in.

Setting it up

When ordering the Ultimate I/O board make sure you go with the 4.8 mm switch connector. The buttons had 4.8 mm connectors, not the 2.8 mm which are for the Goldleaf connectors. I had ordered the 4.8 mm harness with mine, and Ultimarc sent me the 4.8 mm and 2.8 mm version.

Wiring is not too hard, but a few tips:

  • Make a note of where you’re connecting your LEDs for the buttons as you’ll need the port numbers for programming/configuration later
  • Pay attention to the switch harness and what wire goes to which button as they are specific
  • Buttons for Joysticks and Buttons themselves often have two connectors – for the signal wire. I found that you want to connect the signal wire to the terminal closest to the ground. Otherwise it assumes the switch is closed when you’re not pressing the button rather than open:

Keyboard or Xbox 360 Mode?

The Ultimarc I/O board can switch between multiple modes – Keyboard, dInput, and Xbox 360 mode. I didn’t explore much with dInput mode as I’ve had good experiences with both Keyboards and Xbox controllers with RetroPie.

There is once big caveat – If you use Xbox mode, you cannot control the LEDs on the board. As I understand it, Microsoft locks down the abilities of boards that emulate Xbox controllers in their protocols, and so you cannot control the LEDs.

That said, two controllers are clearly visible in Xbox mode and it works well. Just be sure to program the triggers to the proper Coin and Start buttons if you use this mode. If you’re not using LEDs, this could work for you.

Now, what is the challenge if you use Keyboard mode with RetroPie? Well…out of the box, you can only setup the keyboard as a single player device, you can’t have two distinct set of controllers and control them as Player 1 and 2 separately.

If you try to setup both sides, you end up wiping out the controls for the other player. So if I setup Player 1 and then setup Player 2, I end up wiping out the Player 2 controls.

Attempt #1: xboxdrv

Update 2023-08-31: I thought xboxdrv to the rescue, but it actually didn’t work. Sure enough, it turned my keyboard into an Xbox controller, but only one controller, not two.

So you can’t say one part of the keyboard is player 1, and another part is player 2. ARGH!

Here is what I had previously written:

xboxdrv allows you to setup a single keyboard-like device as two controllers (nope!). So your device still acts like a keyboard, and the driver converts the keypresses as if it were an Xbox controller. Perfect for what I needed so I can control the LEDs and have two controllers.

The RetroPie documentation is great is covered what I needed, as is the manpage for xboxdrv.

Ultimately what got me over the hurdle was the –next-controller command. Here is the command line I ended up using for the base configuration of my Ultimate I/O:

sudo /opt/retropie/supplementary/xboxdrv/bin/xboxdrv \
    --evdev /dev/input/by-id/usb-Ultimarc_I-PAC_Ultimate_I_O_4-event-kbd \
    --silent \
    --detach-kernel-driver \
    --force-feedback \
    --deadzone-trigger 15% \
    --deadzone 4000 \
    --mimic-xpad \
    --dpad-as-button \
    --evdev-keymap KEY_LEFTCTRL=a,KEY_LEFTALT=b,KEY_SPACE=x,KEY_LEFTSHIFT=y,KEY_Z=lb,KEY_X=rb,KEY_C=tl,KEY_V=tr,KEY_3=guide,KEY_1=back,KEY_5=start,KEY_UP=du,KEY_DOWN=dd,KEY_LEFT=dl,KEY_RIGHT=dr \
--ui-axismap lt=void,rt=void,x1=void,x2=void,y1=void,y2=void \
  --next-controller \
    --evdev-keymap KEY_A=a,KEY_S=b,KEY_Q=x,KEY_W=y,KEY_I=lb,KEY_K=rb,KEY_J=tl,KEY_L=tr,KEY_8=guide,KEY_6=back,KEY_2=start,KEY_R=du,KEY_F=dd,KEY_D=dl,KEY_G=dr \
    --ui-axismap lt=void,rt=void,x1=void,x2=void,y1=void,y2=void \
    &

This works perfectly for what I wanted. Definitely use the by-id approach as that guarantees the Ultimarc Game Controller is used rather than any other plug and play device.

Nope, that did not work – I suspect I had my keyboard plugged in at the time.

A real shame, because if someone could get the OS to interpret two different parts of the keyboard as a joystick, then that would be awesome.

Attempt #2: Update retroarch.cfg

Ultimately, I had to follow the page on Keyboard controllers at Retopie and setup retroarch.cfg for all systems to use the keyboard as player 1 and player 2. This works well with Retroarch and definitely, two people can play head to head with the controller AND I can use the RGB lights.

There’s a problem though. What if I wanted to play a game like Gauntlet with four people, two on the controller, and two on wireless joysticks?

It seems that for now, I’m a bit out of luck unless I use a tool like Retropie Joystick Selection and force a joystick to be used for player 3 and 4. It’s kludgy but it works. It would be nice if this were available through the Emulation Station UI so I don’t have to login to my Raspberry Pi to make the changes.

Now, for practicality sake, how many people will actually use the controller directly versus using wireless controllers? Most people will likely play games with wireless controllers as our living room is in a bit of an odd layout with the couches perpendicular to the television.

Wireless Controllers?

Of course! I want friends to be able to play games like Gauntlet – very much a favourite – which supports up to 4 players. This was a big deal when Atari came out with the game, and very much my kind of D&D-like game to throw virtual quarters at.

I’m using 8BitDo SN30s and Ultimates in my build. The Ultimates will be the primary controllers for player 1 and 2, with the SN30s for player 3 and 4, or if preferred, someone can use the SN30s.

How about that LED Lighting?

Ultimarc suggests using RGB Commander, however clicking the link, RGB Commander no longer exists. Doing a search, RGB Commander is nowhere to be found.

Welcome to the Internet Wayback Machine – You can download version 4.0.5 here, which was the last version.

Details can be found here.

Much thanks to Gijsbrecht De Waegeneer – if there is a way I can support you in the future, I’d like to through a donation, or some other means. Even if I could host or even take over the code, it’s clear there is demand for RGB Commander.

RBG Commander has two config files:

  • rgbcmdd.xml which defines the actual behaviour of the LEDs and RGB Commander
  • Animation files in the rgba folder

Some tips about RGB Commander:

  • You can setup a static pattern, you don’t always have to use an Animation
  • When creating your own RGBA file, use three values to set RGB
  • When you start programming the RGB values on the right side, I have noticed that I had to program the values not in R, G, B triplets but in B, G, R – I’m double checking to make sure I’ve not plugged in my LEDs backwards on the board
  • It’s not hard to program but will take some experimenting with the setup to understand which LED is represented by each triplet
  • I’ve not linked the application up to specific emulators and tested that, yet

I left the default animation on boot up of the Ultimate I/O card as-is – It’s almost like it’s linked to boot up of RetroPie, which it really isn’t, it isn’t like it’s a progress indicator per se, but you know RetroPie is fully loaded when my default animation starts playing. Neat!

Next up is figuring out how to get buttons to show up in the various emulators.

What else?

If you want to add external USB-based hand held controllers you can. IDs for the devices, i.e. which is the first, second, third or fourth controller seems to be determined based on the order in which they are connected to the USB hub. Play around with this on your hub. I could actually be quite wrong.

Conclusion

This has been an epic project, a bit delayed, but I got it done and I’m super pleased with the results.

This completely replaces a Raspberry Pi 400, USB hub and wireless controllers I had setup as part of my home entertainment setup and puts everything into a very accessible, expandable box. It also frees up the living room Raspberry Pi 400 for other projects.

What’s Next? I’m not planning on putting this in its own arcade cabinet as I already have an AtGames Legends Ultimate with AwesomeSaUCE and CoinOpsX. I am thinking of getting a wide IKEA Lack TV Bench or Coffee Table to put the console on as it’s a bit difficult to sit on the floor comfortably although it does give me significant modern 80s retro vibes and memories.

The end of an era

With the passing of Her Majesty, Queen Elizabeth II, I thought I would share a story from my childhood.

One of a handful of memories of my time growing up in Newfoundland was the visit of The Queen and Prince Philip to St. John’s. One part of their visit was the turning of the sod for what became the Queen Elizabeth II Library at the Memorial University of Newfoundland.

My family was in attendance for a few reasons. Mum was quite a monarchist (along with my grandparents), and Dad taught at the university in the Department of Biology.

I was four years old, standing at the side and along come Her Majesty and Prince Philip and, don’t ask my why I thought this, I thought they were my grandparents.

See, my grandmother and grandfather looked very much like Queen Elizabeth and Prince Philip. My grandmother being shorter and a similar build to Queen Elizabeth; my grandfather being tall and thiner like Prince Philip.

I know at times I’ve felt silly about it growing up, but it’s become a fun memory to think about in my older age.

I had a chance to see The Queen on a visit to Toronto, my grandmother insisting I take a day off school to attend.

As i’ve grown older, I’m aware that the institution of The Firm is an extremely flawed organization, how it treats certain members of The Royal Household, how it has contributed to colonialism around the world, etc.

While it can be argued that The Queen leads this organization and has a say in how things are run, it is not as simple as that. You can see in series like The Crown the position the Queen or King is in.

Things such as The Queen being against Apartheid in South Africa and wanting the release of Nelson Mandella, yet Margaret Thatcher not willing to speak publicly to condemn Apartheid. The monarch has to traverse a fine line, but there are ways they can make their wishes be known.

You can see in recent years that the Monarchy does support self determination as countries in the Caribbean seek to become republics such as Barbados.

The Queen, as I understand her, was very much a diplomat of an amazing kind behind the scenes. I think it’s easy for others to dismiss her impacts, but if you read between the lines, you can see the importance of her role in the world.

Given some of the crap she’s had to deal with from her children too…

I wish the new King good luck in his service to the United Kingdom, Canada and other realms where he is the Head of State.

Thank you ma’am for your hard work behind the scenes, your duty and service.

Not sure what to say

Last night I found out someone that was significant to my time here in Toronto passed away a week ago. We don’t have any details because despite being a gregarious person, he was quite a private person, and his remaining family seem not to be social-media savvy.

Bob was wall of man. Tall, thick, Bearish, always open, a lovely man who was not intimidating despite his imposing size. He would have been one of the first men I met at Toronto’s notorious Toolbox bar.

He was friendly, had a passion for politics and travel. Just an overall lovely man who had escaped the United States to move to Canada.

I am feeling gutted. The past few months I’ve been praying that my friends stay safe whether it’s from COVID or other ailments. A lot of people I know are getting to that age where health problems do pop up.

I will admit, this is hitting me more than my mum passing away in April. I suspect it’s the sudden nature of losing someone versus the slow decline and loss.

Thank you Bob, you will be missed.

Low Carb Cheesecake

Using two separate recipes, I decided to combine both – a crust from one and the filling from another to create what, hopefully, will become a regular dessert around here.

You’ll need an Instant Pot for this recipe.

For the filling:

  • 16 oz wt. cream cheese (2 standard 8 oz wt. bricks), softened to room temperature
  • 2/3 cup powdered erythritol sweetener (4 oz wt.)
  • 2 large eggs, room temperature
  • 1/4 cup heavy whipping cream, room temperature
  • 1 tbsp fresh lemon juice
  • 1 tsp vanilla extract

Crust

Compote

  • 12 ounces frozen raspberries (I went with Cherries), thawed with the juice
  • 1/4 cup swerve confectioners (or powdered erythritol)
  • 1 tablespoon fresh lemon juice
  • 1/4 cup water

Preparation

  • Remove cold ingredients (cream cheese, eggs, heavy cream) from the refrigerator and allow them to warm to room temperature. Start this 30 minutes before proceeding with the rest of the recipe.
  • Prepare a steam rack or the trivet that came with your pressure cooker, ideally with lifting handles.
  • Prepare an aluminum 6-inch round cheesecake pan (I used a 7-inch and added a few more walnuts, additional sweetener and butter – I used Swerve as the sweetener for the crust) with removable bottom or springform pan. Line the bottom and sides of the pan with separate pieces of parchment paper.

Making the crust:

  • Add the crust ingredients to a food processor. Pulse the walnuts for about 15-30 seconds until they are broken into small pieces. 
  • Scoop the walnut crust into a 7-inch round cheesecake pan. Use a spoon to spread the walnuts around and cover the bottom of the pan. Then press the walnut using glass or bowl with a flat bottom to compact the crust. Any holes will fill in while doing this.
  • Place the crust in the freezer for at least 10 minutes while you make the cheesecake filling.

Make the filling:

  • Add cream cheese and erythritol to a large bowl. Use a hand mixer to beat on low speed until well-mixed, about 1 minute.
  • Add heavy cream, lemon juice, and vanilla extract. Beat on low speed until smooth, about 30 seconds.
  • Add eggs one at a time, beating on low speed until just combined, about 30 seconds each. Don’t overmix the eggs.
  • Remove the pan with chilled crust from the freezer. Pour the batter over the crust, careful not to leave trapped air gaps. Flatten the surface using a spatula.

Cook and cool:

  • Add 1 cup of water to the bottom of the pressure cooker. Place the trivet over the water, with its handles resting on the sides of the pot. Place the cheesecake pan on top of the trivet.
  • Secure and seal the lid. Cook for 30 minutes at high pressure, followed by a 15 minute natural release. Manually release any remaining pressure by gradually turning the release knob to its venting position.
  • Carefully lift the lid to avoid dripping condensation on the cheesecake. The top of the cheesecake should be jiggly but not liquid. If needed, use a paper towel to carefully dab at the cheesecake to absorb any condensation on its surface. Turn off the pressure cooker.
  • Let the cheesecake cool uncovered in the pressure cooker. After about an hour, lift it from the pot using the trivet’s handles to continue to cool on the countertop.
  • After it has cooled, loosely drape a paper towel over the cheesecake pan and refrigerate for at least 24 hours. Do not seal tightly because the cheesecake needs to dehydrate.
  • Carefully remove the chilled cheesecake from the pan. Peel off the parchment paper. Slice and serve.

Make the compote:

  • Mix the fruit, Swerve, lemon juice and water
  • Cook over medium heat for 8-10 minutes
  • The sauce should thicken as it cooks.
  • You can add a very very small bit of xantham or guar gum to thicken the sauce if you really need it.

Ode to a car in a garage

This may seem like an odd blog entry, but secretly I’m a car guy.  Okay, maybe not that secretly, but the car I am thinking of plays an important role in my life.

In the summer of 1986, my mother bought her first car.  This was the car that transported my sister and I back and forth to school for several years, that took us, as a family, to get groceries on weekends.  It took us on summer camping trips, and it was an extra in The Santa Clause.

I remember going to Don Little Ford during that summer and mum picking out her two-tone blue Ford Escort L.  I wanted her to go to the Volkswagen dealership next door, but alas she didn’t.  My grandmother had a Mercury Capri that she was willing to trade in, or maybe they took my grandfather’s AMC Pacer, I can’t remember.

My mum put seat covers on, awful and ugly almost faux sheepskin covers, wanting to make sure the car retained the maximum value should she ever wish to trade it in.  Sadly, she never did trade it in, and the car lasted until about 2000 when they decided to park it in the garage of my grandmother’s old house.

There’s a story that I only recently told my family about, and it involves that car.

I wasn’t allowed to drive Mum’s car.  Honestly, I should have been as soon as i got my license rather than my grandmother given how bad of a driver she became in her older age.  I can be a nervous passenger as a result, but I’ve learned to work on that.

When I was allowed, it was when I was in grade 11 or 12 doing a co-op (1991 or 1992).  I was taking my friend Chris home, following our friend Matt.  We were racing each other, doing 80 kph down Thompson Rd in Milton.  I chose to turn the corner at that speed and nearly slid into someone’s front lawn.  Thank goodness no one was waiting to turn at that corner and I didn’t hit anyone.

I was crapping myself when we got the car to Chris’s place.  When we looked at the back tires, they were bald.  I thought I had done that!  So we literally went to a store and I bought two new tires with money I had earned working.   My mother and grandmother didn’t notice.

Ultimately, my mother hadn’t replaced tires on the car at all for, at that point, the 5 or 6 years she had the car. Yes, I was stupid for driving as I was, but my mum’s lack of knowledge on maintaining a car and probably not listening to the folks at the garage created a bit of a death trap.  

Still, I know this was an incredibly important purchase for my mum.  She saved her money for it, being a single Mum, it created a bit of freedom and independence.  It was her car, and she was building equity.

I can understand why it was put into the garage, but honestly, it’s rusted, it hasn’t had any maintenance on it.  A shadow of it’s former past.

Looking at it, I still like the angles it has, I love those halogen headlights and the taillights.  The liftgate, as I remember, was spacious.  For a compact car you could fit a lot on it, and I recall fitting well in the back seat.

The colours of blue on the car, I liked it with the pinstripe.  It’s probably why I like blue cars – having had four of them to date – A Toyota Echo, Toyota Prius, Mini Cooper and the present BMW X3.

Still, I am thankful for the workhorse it was, the joy it brought my mother and having a ride out of Campbellville.  32 years later, it’s time for this car to move on to it’s next life.